Node.jsでWebクローラーを作成する場合、 requestモジュールとCheerioを使う場合や、ヘッドレスクロームのPuppeteer を使う場合など、複数のパターンがあります。
Puppeteerはスクリーンショットを撮ることができたり、JavaScriptが動作した後のHTMLをクローリングできます。これらは、request+Cheerioでは取得できない内容です。
しかし、Puppeteerはリダイレクトページの取得が難しかったり、動作に多くのメモリが必要となる等の特徴もあります。
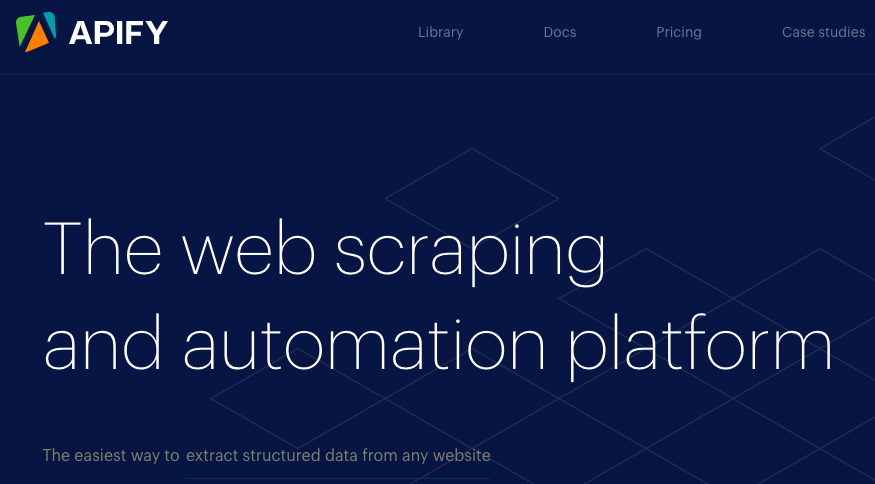
Apify.jsは、内部的にrequest+Cheerioのクローラを呼び出したり、Puppeteerのクローラを呼び出したりと、簡単にコード上で切り替えが可能です。
しかも並列実行数も簡単にコントロールできます。
Webクローラを作るにあたって、これ1つ入れておけば安心できるライブラリだと言えるでしょう。
CheerioCrawlerを使う例
const Apify = require('apify')

// クローリング結果を保存するディレクトリパスを指定。
process.env.APIFY_LOCAL_STORAGE_DIR = './apify_storage'

Apify.main(async () => {

  const requestList = new Apify.RequestList({
    sources: [
      { url: 'http://www.google.com/' },
      { url: 'http://www.yahoo.co.jp/' },
    ]
  })

  await requestList.initialize()

  const crawler = new Apify.CheerioCrawler({

      // クローリング対象のRequestListをセットする。。
      requestList,

      // スクレイピング実行関数。
      // - request: Requestインスタンス。URLやhttpメソッドの情報を持つ。
      // - html: HTMLの内容。
      // - $: cheerioオブジェクト。
      handlePageFunction: async ({ request, html, $ }) => {
          console.log(`Processing ${request.url}...`)

          const title = $('title').text()
          const h1texts = []
          $('h1').each((index, el) => {
            h1texts.push({
              text: $(el).text(),
            })
          })

          //  ./apify_storage/datasets/default に結果をJSONで保存。
          await Apify.pushData({
              url: request.url,
              title,
              h1texts,
              html,
          })
      },

  })

  // クローリング開始。
  await crawler.run()

  console.log('Crawler finished.')
})
PuppeteerCrawlerを使う例
const Apify = require('apify')

// クローリング結果を保存するディレクトリパスを指定。
process.env.APIFY_LOCAL_STORAGE_DIR = './apify_storage'

Apify.main(async () => {

  const requestList = new Apify.RequestList({
    sources: [
      { url: 'https://news.ycombinator.com/' },
    ],
  })

  await requestList.initialize()

  const crawler = new Apify.PuppeteerCrawler({

    // クローリング対象のRequestListをセットする。。
    requestList,

    // Puppeteerオプション。
    launchPuppeteerOptions: {
      slowMo: 500
    },

    // スクレイピング実行関数。
    // - request: Requestインスタンス。URLやhttpメソッドの情報を持つ。
    // - page: Pageオブジェクト。
    handlePageFunction: async ({ request, page }) => {
      console.log(`Processing ${request.url}...`)

      const data = await page.$$eval('.athing', ($posts) => {
        const data = []

        $posts.forEach(($post) => {
          data.push({
            title: $post.querySelector('.title a').innerText,
            rank: $post.querySelector('.rank').innerText,
            href: $post.querySelector('.title a').href,
          })
        })

        return data
      })

      // データを保存。
      await Apify.pushData(data)

    },

  })

  // クローリング開始。
  await crawler.run()

  console.log('Crawler finished.')
})
RequestQueueで動的にクローリング
RequestListではなくRequestQueueをセットすることで、動的に取得したURLを追加でクローリングできます。
const requestQueue = await Apify.openRequestQueue()

const crawler = new Apify.PuppeteerCrawler({

    // クローリング対象のRequestQueueをセットすると、動的にクローリング対象URLを追加できる。
    requestQueue,

    handlePageFunction: async ({ request, page }) => {

      const data = await page.$$eval('.athing', ($posts) => {
        const data = []

        $posts.forEach(($post) => {
          data.push({
            title: $post.querySelector('.title a').innerText,
            rank: $post.querySelector('.rank').innerText,
            href: $post.querySelector('.title a').href,
          })
        })

        return data
      })

      await Apify.pushData(data)

      let nextUrl
      try {
        nextUrl = await page.$eval('.morelink', el => el.href)
      } catch (err) {
        console.log(`${request.url} is the last page!`)
        return
      }

      // Queueに追加。
      await requestQueue.addRequest(new Apify.Request({
        url: nextUrl,
        // Requestオブジェクトにカスタムデータを保持できる。
        userData: {
          foo: 'bar'
        }
      }))

    },


  })
並列実行
オプションのminConcurrency を指定すると、Puppeteerのタブを同時に複数開いて実行できます。単位をブラウザ単位にしたければ、
maxOpenPagesPerInstance: 1
を指定するだけで、並列にブラウザが起動されます。
const Apify = require('apify')

// データ保存先のディレクトリを指定。
process.env.APIFY_LOCAL_STORAGE_DIR = './apify_storage'

Apify.main(async () => {

  const requestList = new Apify.RequestList({
    sources: [
      { url: 'https://news.ycombinator.com/newest' },
      { url: 'https://news.ycombinator.com/show' },
      { url: 'https://news.ycombinator.com/ask' },
      { url: 'https://news.ycombinator.com/jobs' },
    ],
  })

  await requestList.initialize()

  const requestQueue = await Apify.openRequestQueue()


  const crawler = new Apify.PuppeteerCrawler({
    requestList,
    requestQueue,


    // Puppeteerオプション。
    launchPuppeteerOptions: {
      slowMo: 500,
      args: [
        '--no-sandbox',
        '--disable-setuid-sandbox',
        '--disable-gpu'
      ],
      headless: false
    },

    // メモリとCPUに合わせて調整される並列実行数の最小値と最大値を指定。
    minConcurrency: 3,
    maxConcurrency: 10,


    // スクレイピング実行関数。
    // - request: Requestインスタンス。URLやhttpメソッドの情報を持つ。
    // - page: Pageオブジェクト。
    handlePageFunction: async ({ request, page }) => {
      console.log(`Processing ${request.url}...`)

      const data = await page.$$eval('.athing', ($posts) => {
        const data = []

        $posts.forEach(($post) => {
          data.push({
            title: $post.querySelector('.title a').innerText,
            rank: $post.querySelector('.rank').innerText,
            href: $post.querySelector('.title a').href,
          })
        })

        return data
      })

      // データを保存。
      await Apify.pushData(data)

      let nextUrl
      try {
        nextUrl = await page.$eval('.morelink', el => el.href)
      } catch (err) {
        console.log(`${request.url} is the last page!`)
        return
      }

      // Queueに追加。
      await requestQueue.addRequest(new Apify.Request({
        url: nextUrl,
        // Requestオブジェクトにカスタムデータを保持できる。
        userData: {
          foo: 'bar'
        }
      }))

    },


  })

  // クローリング開始。
  await crawler.run()

  console.log('Crawler finished.')
})
以上のように、非常に多くのオプションが用意されており、
とても柔軟にクローリングが実装できます。
他のオプションは公式ドキュメントで参照できます。
PuppeteerCrawlerドキュメント : https://sdk.apify.com/docs/api/puppeteercrawler
CheerioCrawlerドキュメント: https://sdk.apify.com/docs/api/cheeriocrawler
 WEVA
WEVA